Now maybe you would like to put your image into an oval or circle... here's how to do it.
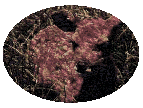
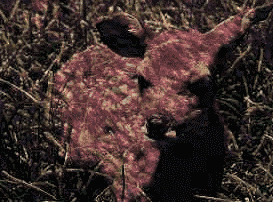
I started with this image..(all images have been thumbnailed..so click to see what they really look like..zone .pngs dont keep the transparency.)
I took it to IM and used "color" "reset" and whatever color I wanted to end up being "misted". Next I used "matte" "replace" and _no color_. This gave me a blank square. Then I used draw...click draw, choose "ellipse" ( I'm doing an Oval for a circle choose "circle") then put these parameters in if your image is 250x250 starting out... +half the width+half the height of your image +20 less than half the width +35 to 40 less than half the height of your image 0,360 so it will look like this for an image that is 280x280: +125+125 +100+80 0,360 ( for a circle the #'s must be the same ~+80+80 and 0,360 isn't needed) next choose a fill color..and a stroke color..make them the same color..like "red" and you can make the stroke width 1,2,3, whatever you like. Uncheck the "anatalias text" so that you don't get too ugly of an oval/circle.Press draw.
You should have just the red oval. Like this (mine's white :-)
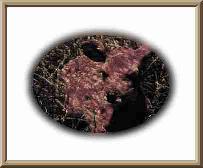
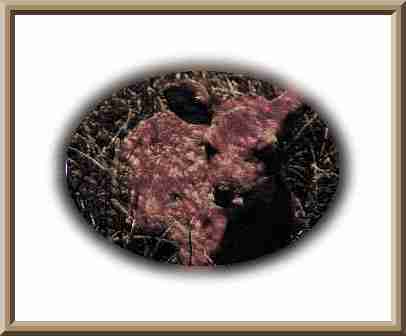
Check to make sure that your oval is filled by the image you chose. Use "composite in" and then adjust as needed. You should get something like this..
Output this image as a gif ( this one _can_ be outputted as a jpg but it involves a lot of work!) then take it back to your storage or grab the Temp. IM URL into your memory.Click back with either the back button or your recents until you are looking at your gif again... there are two ways to do this..let's do the easy one first ;-)
Color reset the image to whatever color you want to be misted...resize it by 40 on height and width. Composite over with your oval image (use your temp URL now). Now go to "effects" and put 6.5x6.5 and click "gaussian blur". Resize.. Go back to effects and click the same again.
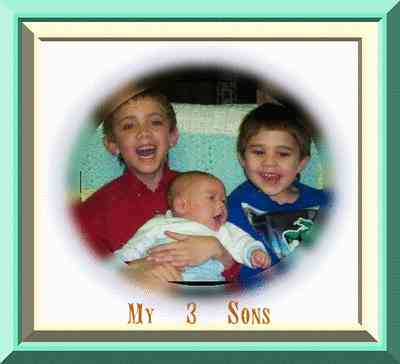
Now go to "composite" and choose "over" "center" and your URL which is already there. Voilĺ, a misted oval frame. You can repeat the above steps until your image is too large or your oval gets squished..which ever comes first. Now put whatever frames around it you like to finish your image.
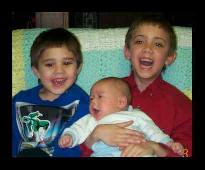
Here's another example.
The second way is for if you want an oval mist to place over a patterned background.. follow the above steps upto outputting as a gif.. grab that URL and click back to your image.
Color reset then matte replace..so that the background is transparent.. then comp your circle gif over that.. use GB..resize..use GB..comp over again..etc..
Don't panic if it looks a bit ugly around the edges.. cos once you have the misted look you desire..output as a gif..grab that URL.. go back..use draw to erase the UGLY part.. do this by making a smaller oval than what your image is..Color reset.. matte replace..then use the draw co-ords you already have..then comp your slighty ugly misted oval in to that.
Output as a gif and you can now comp that over a patterned background!
